Appearance
Import Data
BridalOp's Import tool lets you bring in data from CSV files — customers, vendors, products & inventory, staff, discounts, and gift cards. This is the fastest way to migrate from another system or load bulk data without entering it manually.
Navigate to Settings → Import to get started.
Import Types
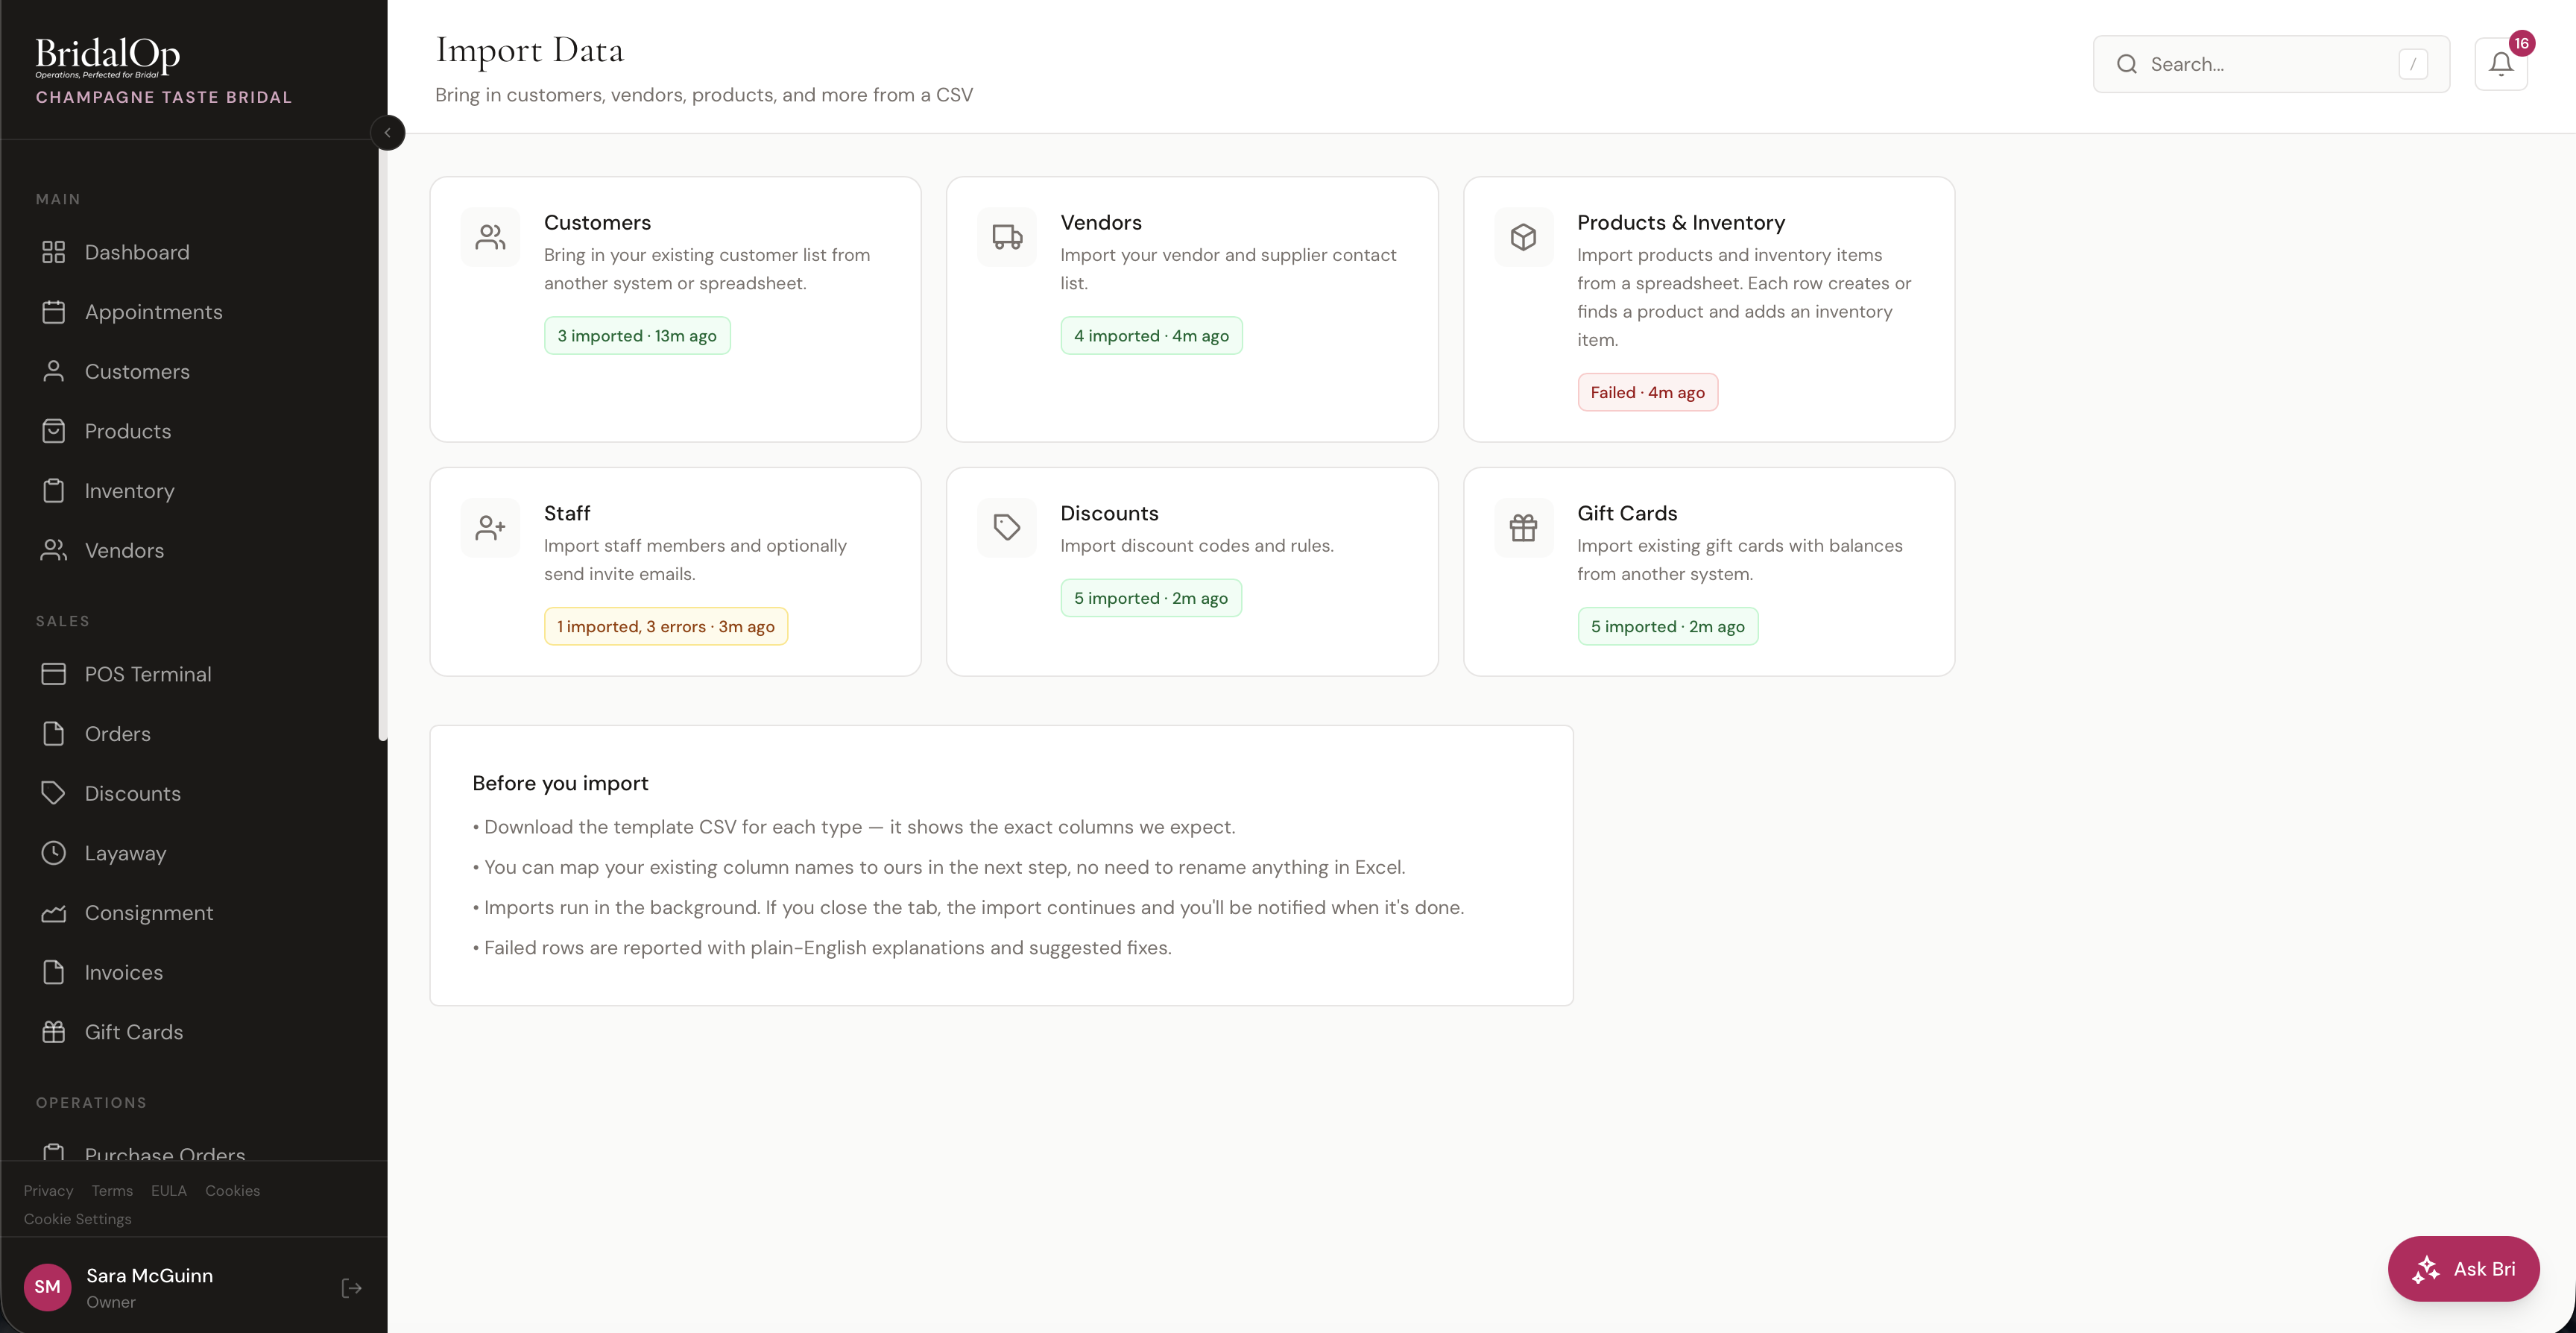
The Import hub shows six tiles, one for each data type you can import:
| Type | What It Imports |
|---|---|
| Customers | Customer records with contact info, wedding dates, event types, tags, and marketing opt-in |
| Vendors | Vendor and supplier contact list |
| Products & Inventory | Products and physical inventory items — each row is one item, not one product |
| Staff | Staff members with roles — optionally sends invite emails |
| Discounts | Discount codes and rules |
| Gift Cards | Existing gift cards with balances from another system |
Each tile shows the result of the last import (e.g., "3 imported · 13m ago" or "Failed · 4m ago") so you can see at a glance what's been done.
The Import Flow
Every import type follows the same four-step process:
Step 1 — Upload Your CSV
Drag and drop a CSV file onto the upload area, or click browse to select one.

Before uploading, click Download template CSV to get a pre-formatted file with the exact columns BridalOp expects, including example rows. You don't have to use the template — any CSV works as long as you map the columns in the next step.
Step 2 — Map Your Columns
BridalOp auto-matches your CSV column headers to its fields. Review each mapping and adjust any that look wrong using the dropdown. Fields marked with * are required.
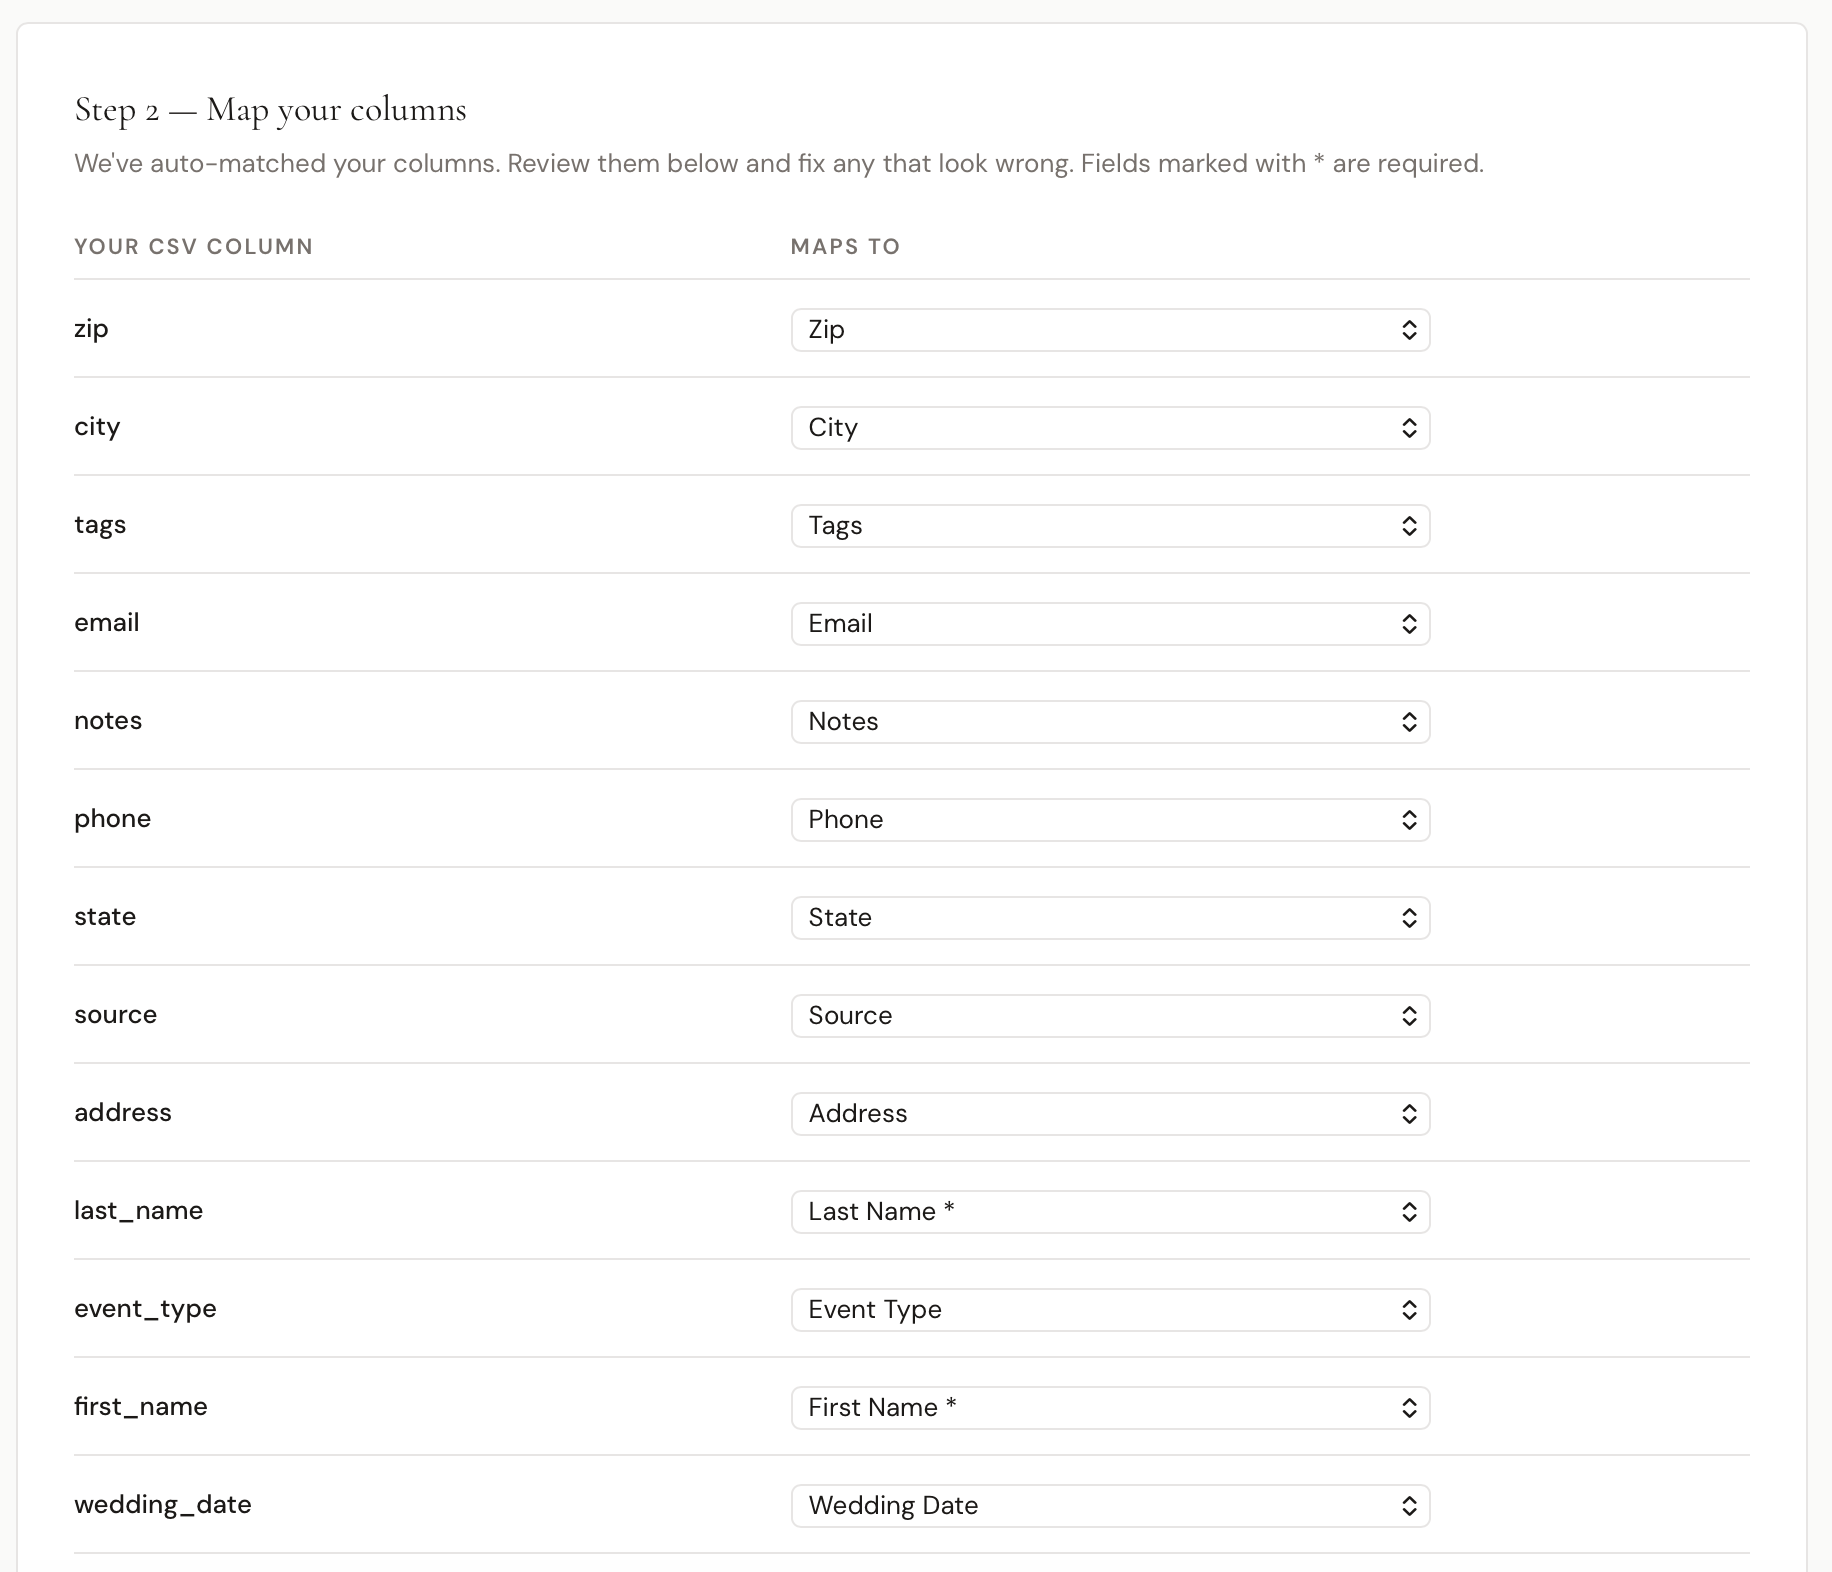
You don't need to rename anything in Excel — just map your existing column names to ours here.
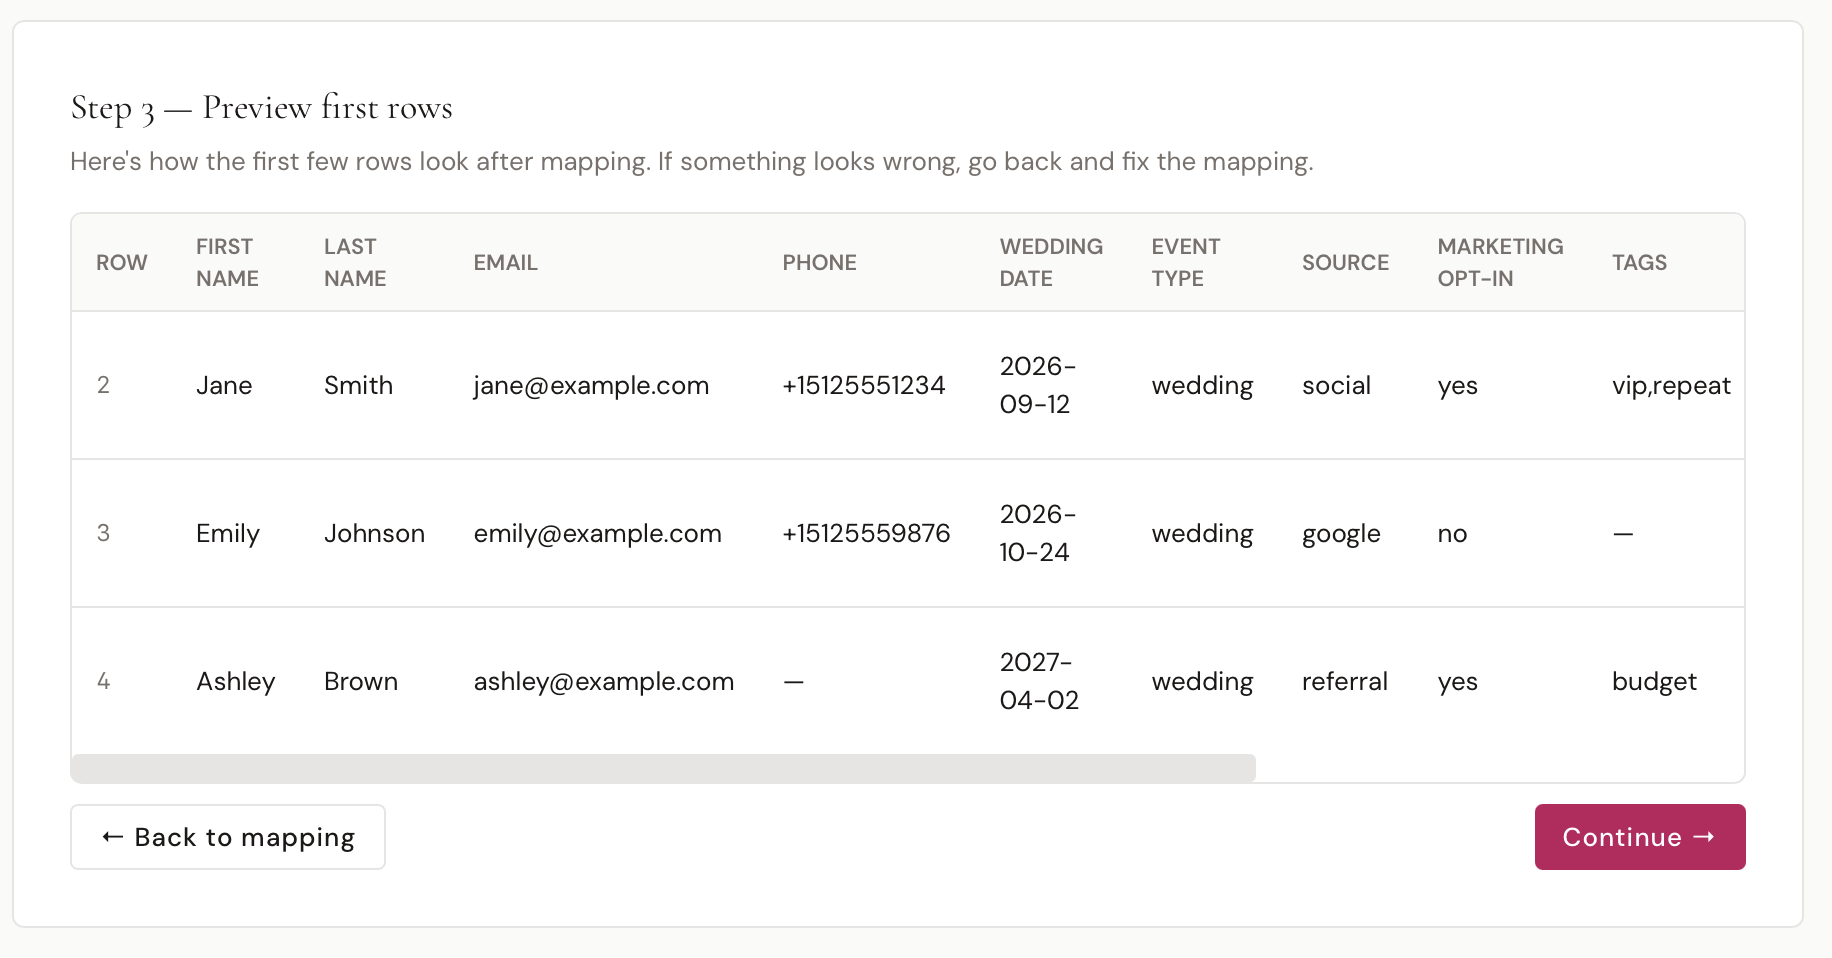
Step 3 — Preview First Rows
See how the first few rows of your data look after mapping is applied. If something looks off, click Back to mapping to fix it.
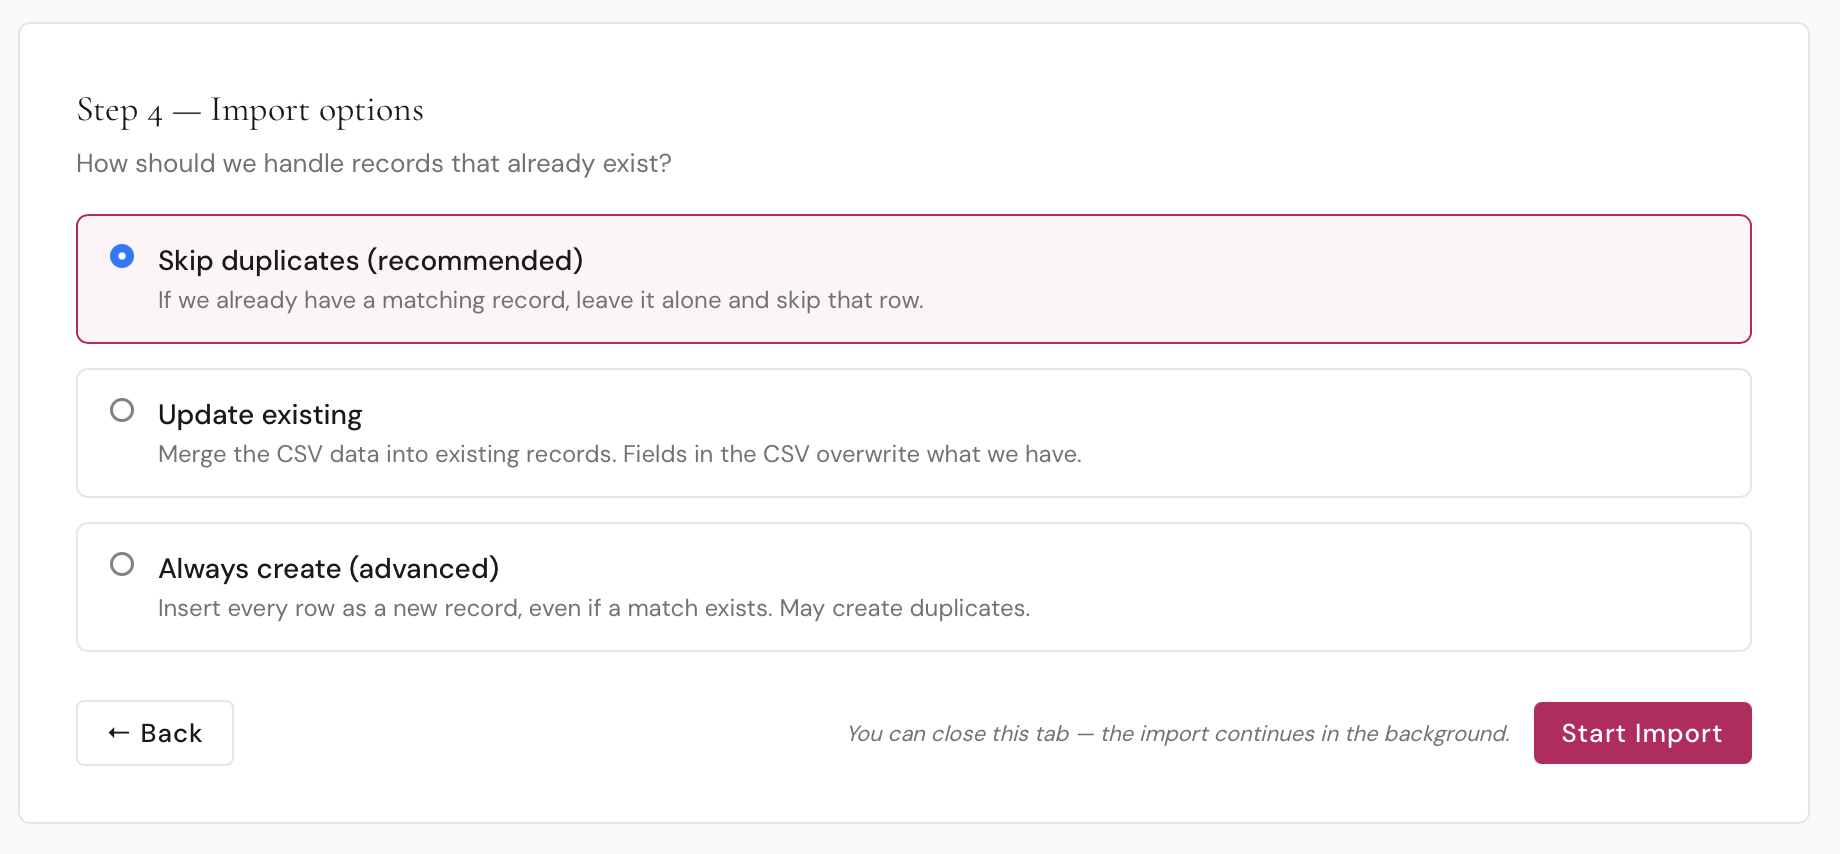
Step 4 — Import Options
Choose how BridalOp should handle records that already exist in the system:
| Strategy | What It Does |
|---|---|
| Skip duplicates (recommended) | If a matching record already exists, leave it alone and skip the row |
| Update existing | Merge the CSV data into existing records — fields in the CSV overwrite what's already there |
| Always create (advanced) | Insert every row as a new record, even if a match exists — may create duplicates |
Click Start Import to begin. You can close the tab — the import runs in the background and you'll get a notification when it finishes.
Import Progress
If you stay on the page (or come back to it), you'll see a live progress view:
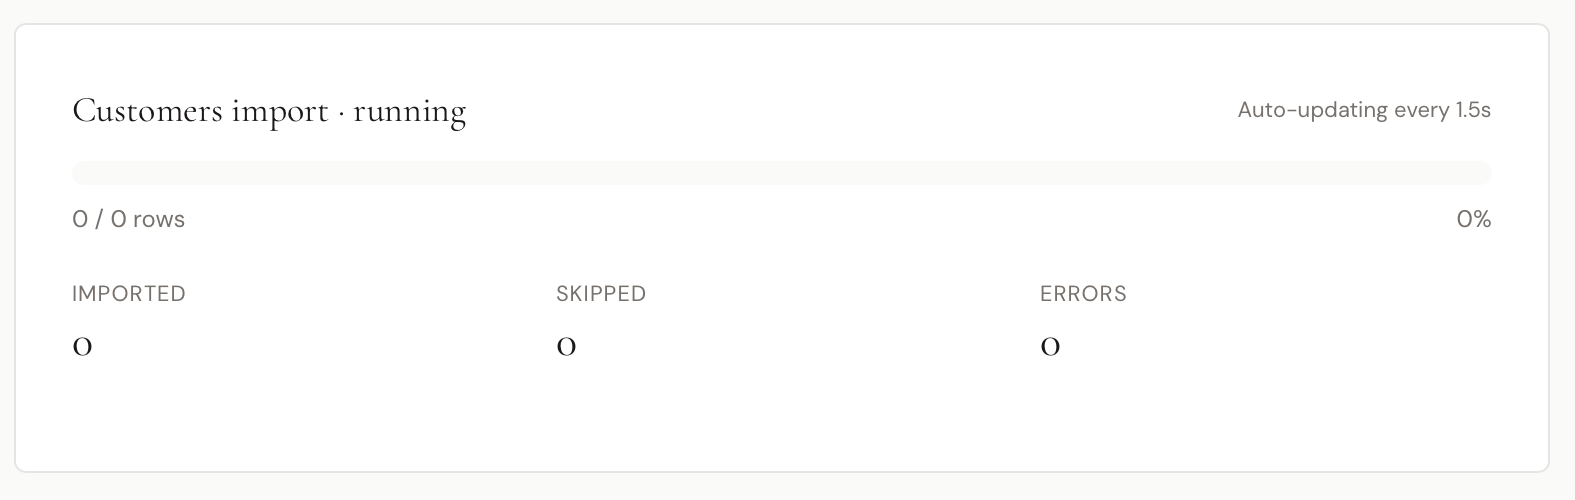
The progress bar shows how many rows have been processed, with counters for Imported, Skipped, and Errors. The page auto-updates every 1.5 seconds.
Only one import per type can run at a time.
Error Reports
If any rows fail, BridalOp generates a downloadable error report CSV. The report includes all the original columns from your file plus:
| Column | Description |
|---|---|
| _error_row | The row number that failed |
| _error_field | Which field caused the error |
| _error_message | A plain-English explanation of what went wrong |
| _error_fix | A suggested fix |
Fix the errors in your CSV and re-import — use Skip duplicates so the rows that already succeeded are left alone.
Products & Inventory Import
The Products & Inventory importer works differently from the others. Each CSV row represents one physical inventory item, not one product. If you have three rows with the same SKU, BridalOp creates one product and three inventory items (each with its own size, color, barcode, etc.).
Key details:
- Vendor, Location, and Category are resolved by name, not ID — type them exactly as they appear in BridalOp
- If a vendor name is misspelled, BridalOp suggests the closest match in the error report
- Barcodes auto-generate as BO-XXXXXX when left blank in the CSV
- Location is required — either include it in every row or set a default for the import
Staff Import
The Staff importer has a few special rules:
- Owner role cannot be imported — any row with role "owner" will be rejected with an error
- Invite emails are sent by default — there's a toggle to skip sending invites if you just want to create the accounts first
- Each imported staff member gets an invite token just like a manual invite from the Staff page